
DIY Eyelash Extension Tips: What You Need to Know Before You Start


Understanding the Basics of DIY Eyelash Extensions
If you're considering DIY eyelash extensions, it's important to understand the basics before diving in. Eyelash extensions can enhance your natural lashes, adding volume and length. However, applying them yourself requires precision and patience.
Before starting, ensure you have all the necessary tools. You will need extension lashes, lash adhesive, tweezers, a lash brush, and a mirror with good lighting. It's crucial to use high-quality products to achieve the best results and avoid irritation.

Preparing Your Natural Lashes
Before applying eyelash extensions, you must prepare your natural lashes. Start by washing your face with a gentle cleanser to remove makeup and oils. This step is vital as any residue can interfere with the adhesive's effectiveness.
Once your lashes are clean, use a lash brush to gently separate and lift them. This makes the application process smoother and ensures that each extension adheres properly.
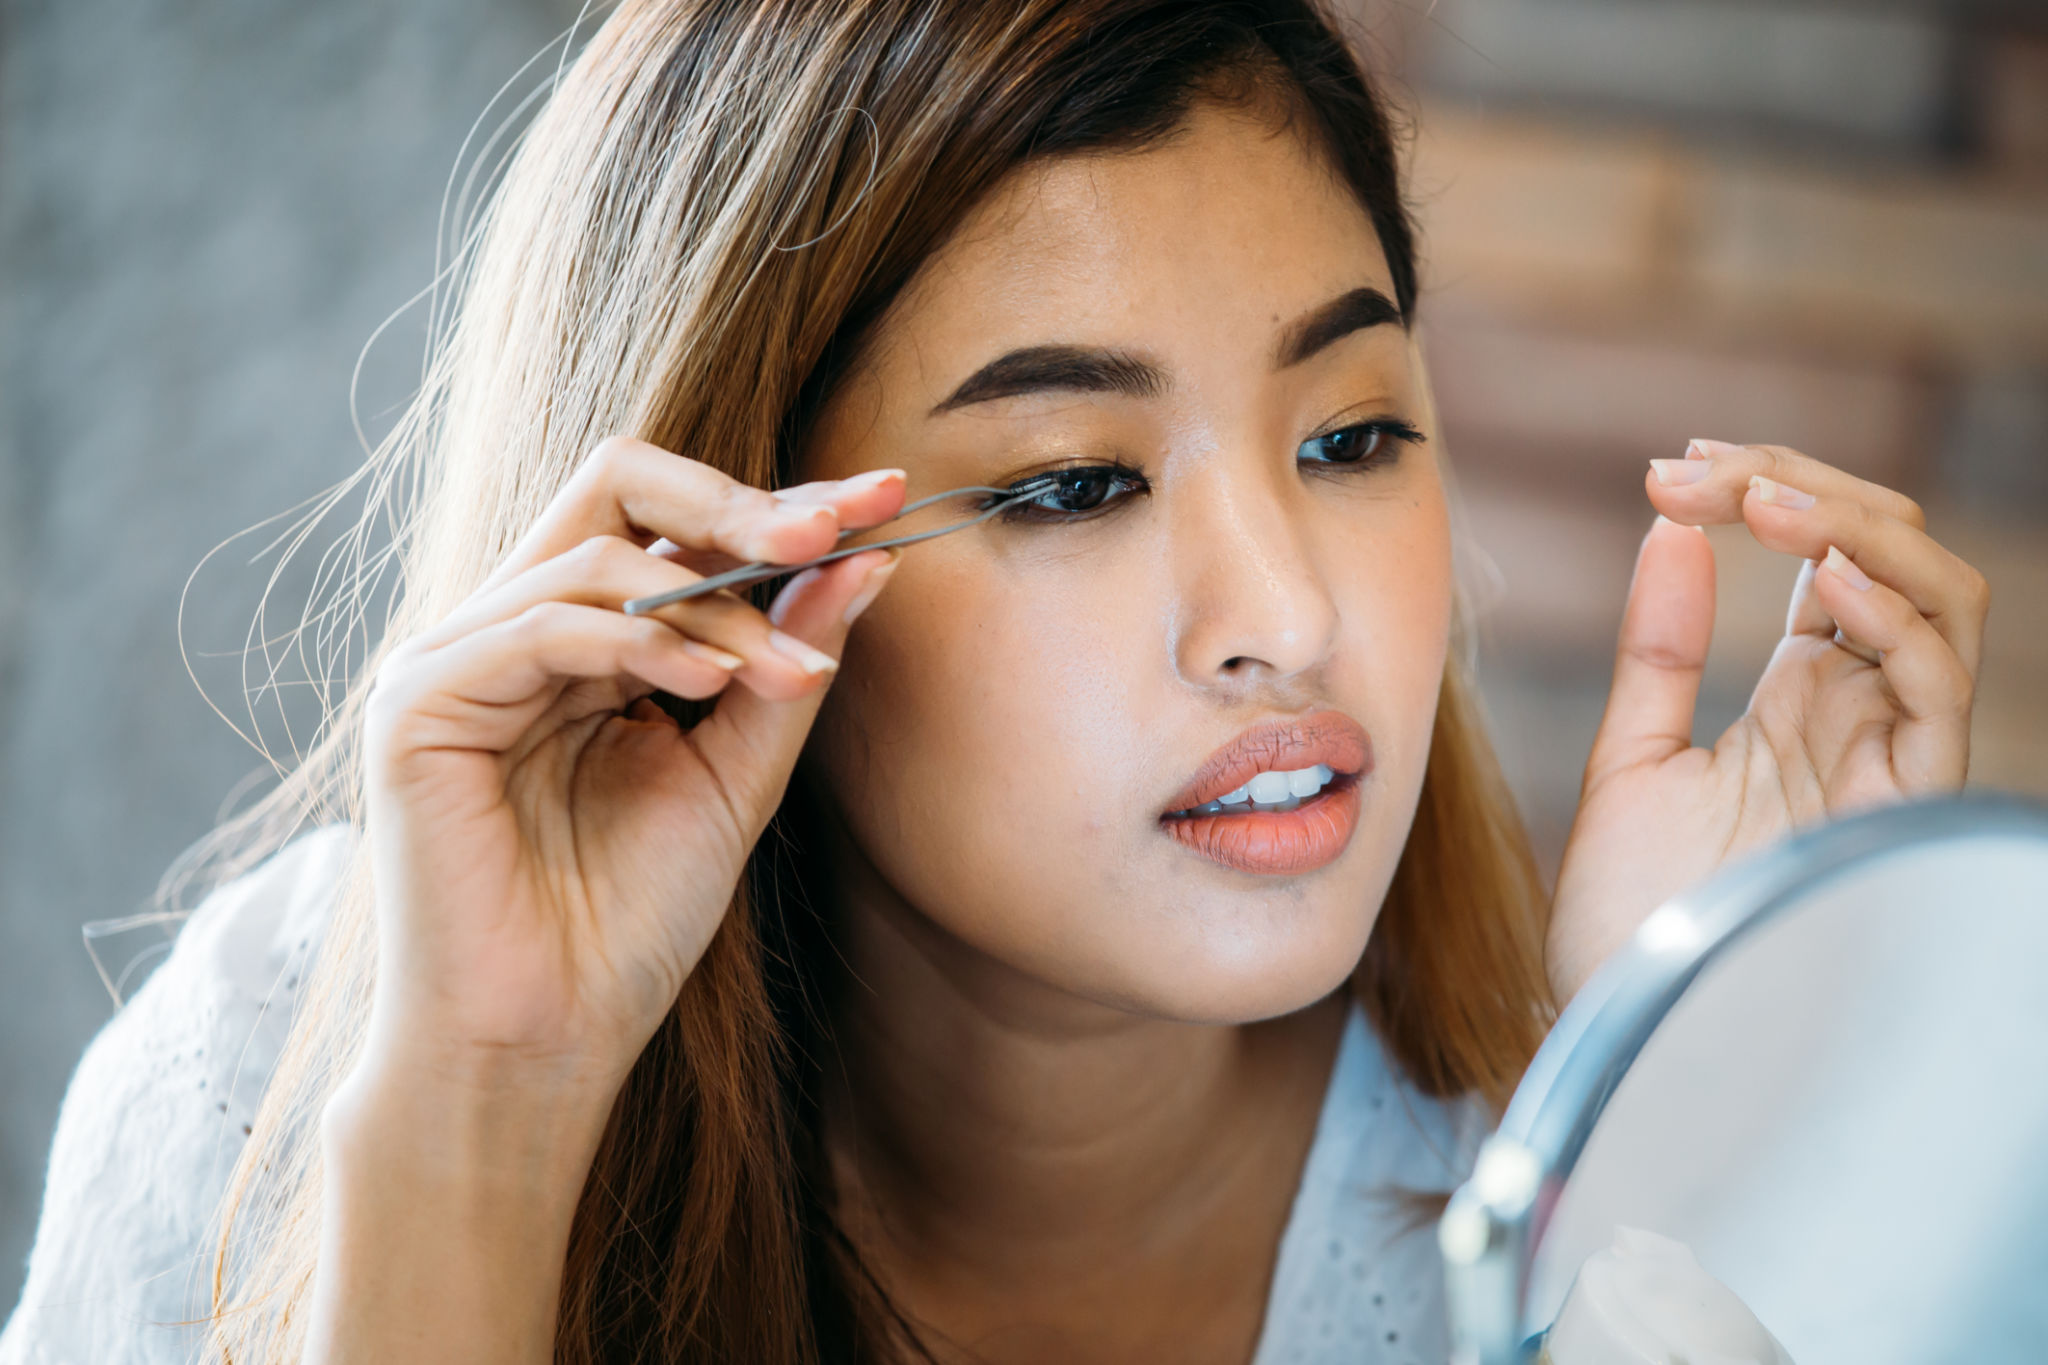
Step-by-Step Application Process
Follow these steps to apply your DIY eyelash extensions:
- Start by placing a small drop of adhesive on a clean surface.
- Using tweezers, pick up an extension lash by the tapered end.
- Dip the lash base into the adhesive, ensuring it's just enough to coat but not oversaturate.
- Carefully place the extension on your natural lash, about 1-2 mm from the eyelid to avoid irritation.
- Allow the glue to dry before moving on to the next lash.
Common Mistakes to Avoid
Even seasoned beauty enthusiasts can make mistakes when applying DIY eyelash extensions. Here are some common pitfalls to avoid:
- Using too much adhesive: This can cause clumping and may weigh down your natural lashes.
- Applying extensions too close to the eyelid: This can lead to discomfort and irritation.
- Skipping the isolation step: Ensure each extension is placed on a single natural lash to prevent tangling.
Aftercare Tips for Longer-Lasting Extensions
Proper aftercare is essential for maintaining your lash extensions and extending their lifespan. Avoid getting your lashes wet for at least 24 hours after application to allow the glue to set completely.
When cleaning your face, be gentle around your eyes and avoid oil-based products that can weaken the adhesive. Use a lash brush daily to keep your extensions looking neat and separated.

When to Seek Professional Help
While DIY eyelash extensions can be a fun project, they might not be suitable for everyone. If you experience persistent discomfort or find it challenging to achieve the desired look, it might be time to seek professional help.
Professional technicians have the expertise and tools necessary to apply lashes safely and effectively. Don’t hesitate to book an appointment if you need assistance or want a more polished result.
The Benefits of DIY Eyelash Extensions
Despite the challenges, there are several benefits to applying eyelash extensions yourself. DIY applications can be more cost-effective than salon visits. They also allow you to customize the look according to your preferences, experimenting with different styles and lengths.
Moreover, mastering this skill can give you a sense of accomplishment and confidence in maintaining your beauty routine independently.
Final Thoughts
DIY eyelash extensions can be a rewarding endeavor when done correctly. By understanding the basics, preparing adequately, and following a careful application process, you can achieve beautiful results at home. Remember, practice makes perfect, so take your time and enjoy enhancing your natural beauty.